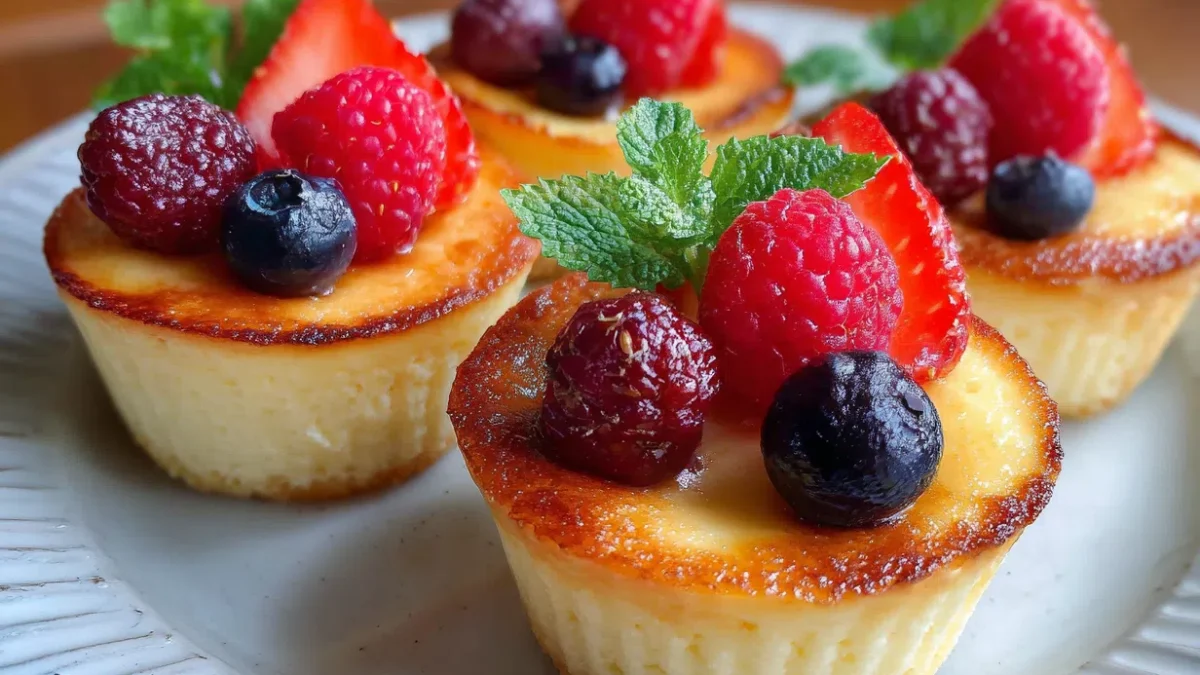
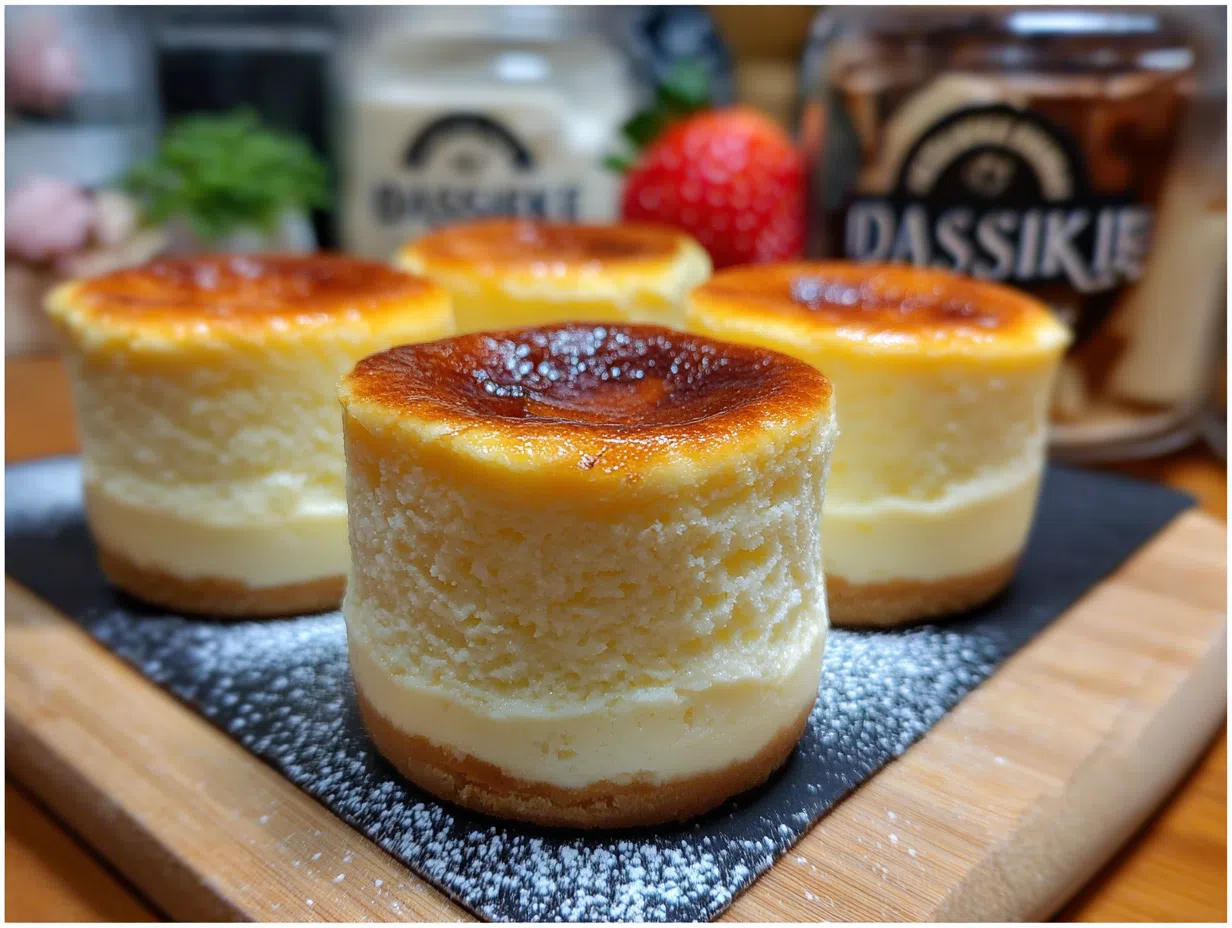
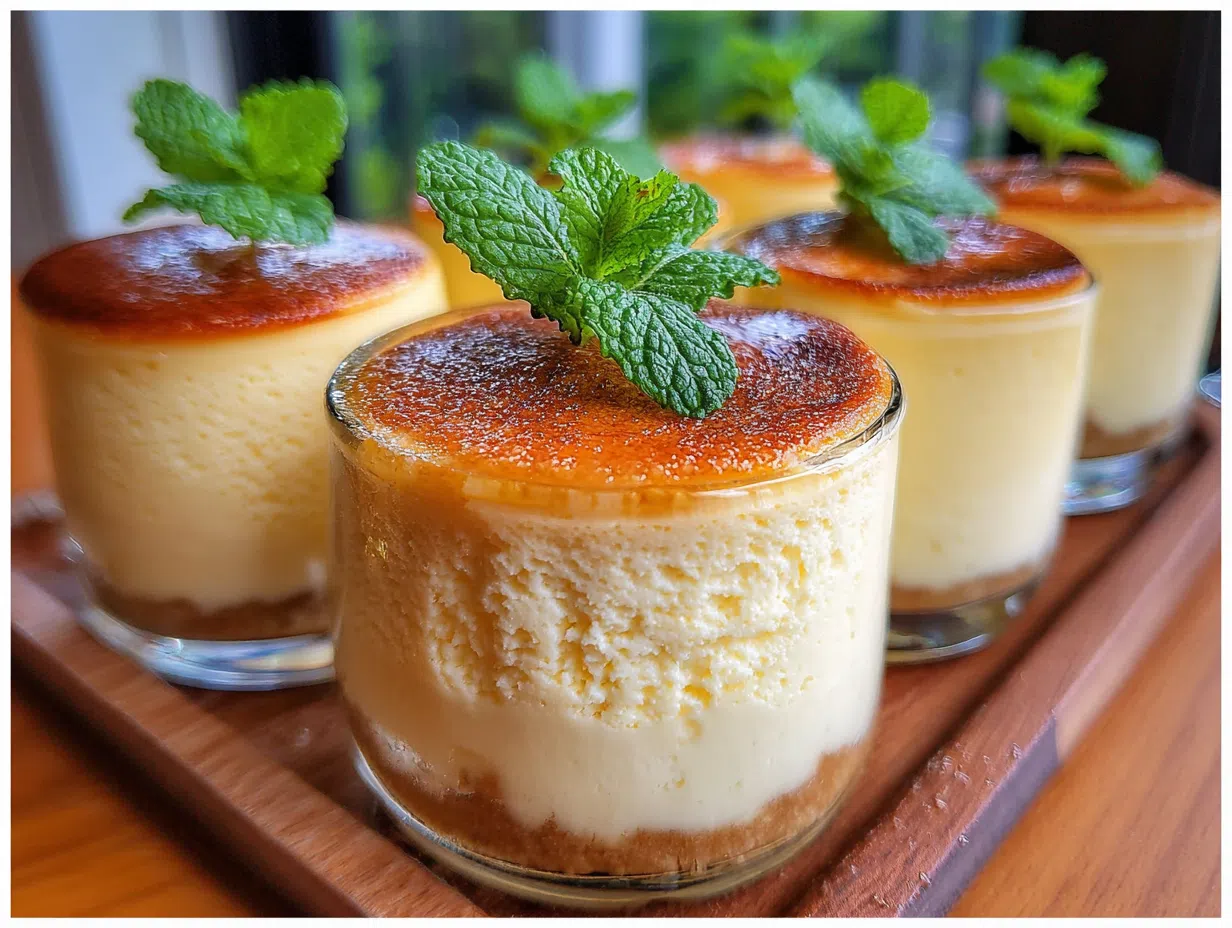
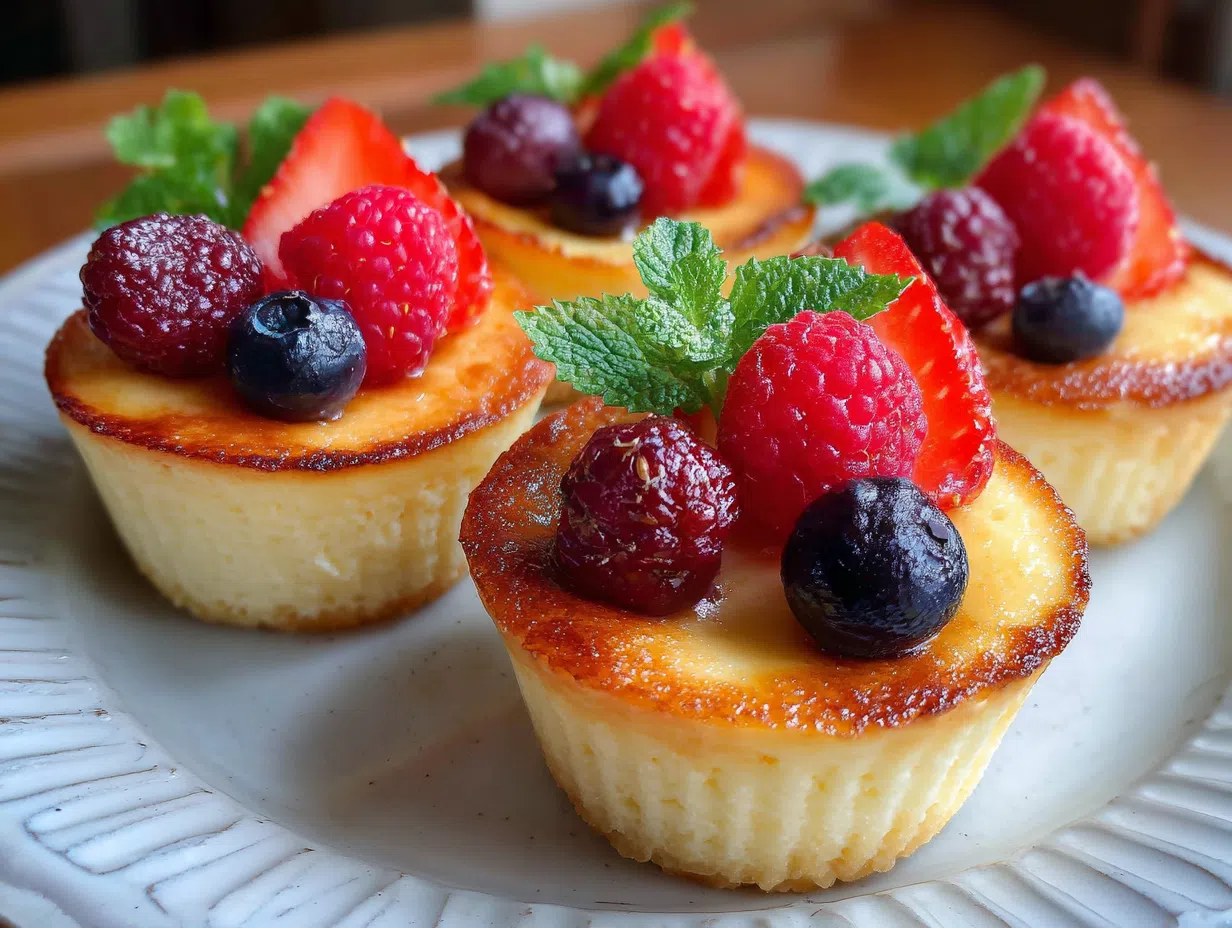
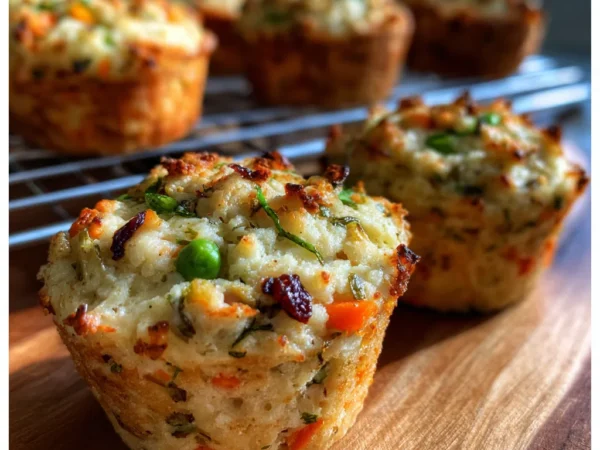
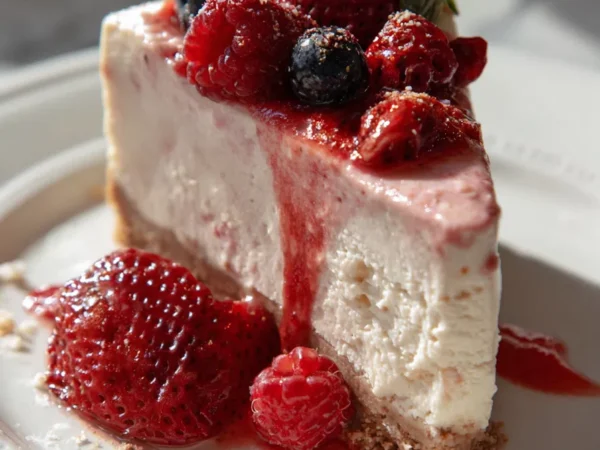
Japanese Cheesecake Cups
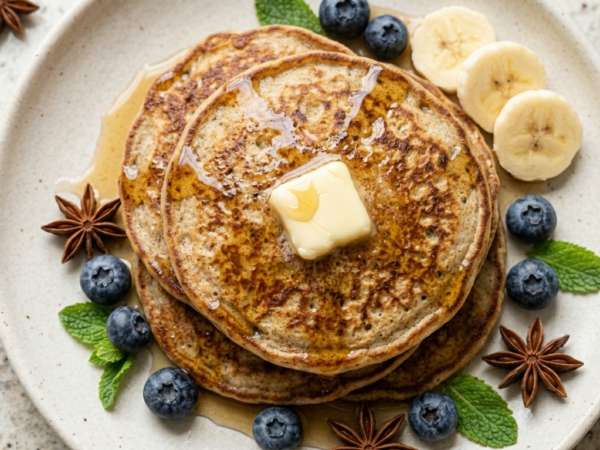
The creamy texture of these Japanese cheesecake cups just melts in your mouth, with a sweet aroma that’s impossible to resist, and a taste that’s both rich and light at the same time. Mamas love this recipe because it’s incredibly easy to make and requires only two ingredients. This dessert is perfect for a quick pick-me-up or as a special treat for the family.
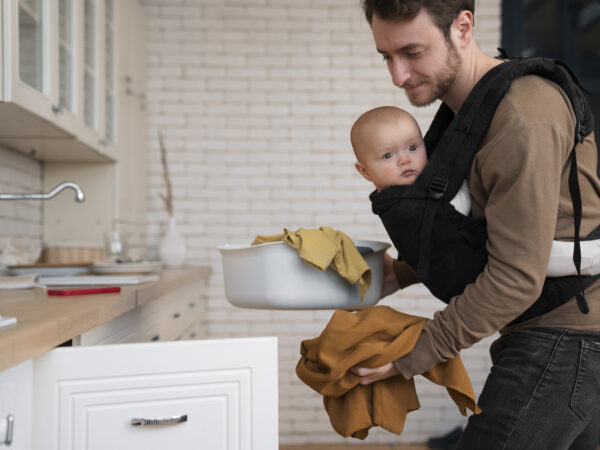
I still remember the day I was exhausted, holding my baby in my arms, and desperately needing something sweet to brighten up my day – that’s when I stumbled upon this amazing recipe. As I took a bite, I felt a surge of energy and a sense of comfort that only a warm, freshly baked dessert can provide. In that moment, I knew I had to share this recipe with all my fellow mamas out there who are looking for a sweet treat to make their day a little brighter.
This recipe has been a game-changer for me, and I’m so grateful to have it in my arsenal of quick and easy desserts. It’s perfect for those days when you need a little something to brighten up your morning or afternoon. This is one of those things I wish someone had told me sooner, mama.
Why Mamas Love This Recipe
- The nourishing benefits of this recipe are numerous, as it provides a much-needed energy boost for tired mamas, and the cream cheese is a great source of protein to keep you full and satisfied. The best part is that it’s so easy to make, you can whip it up in no time, even with a baby in tow. This dessert is also a great way to get your daily dose of calcium, which is essential for mamas, especially those who are breastfeeding.
- The flavor and texture of this cheesecake are absolutely divine, with a creamy consistency that’s just right, not too dense or too light, and a sweetness that’s balanced perfectly. When you take a bite, the cream cheese and egg mixture just melts in your mouth, leaving you wanting more. The best part is that you can customize the flavor to your liking, by adding a bit of vanilla or lemon zest to give it a unique twist.
- This recipe can be made in just 10 minutes, which is a lifesaver for busy mamas who don’t have a lot of time to spare. The best part is that you can make it ahead of time, and store it in the fridge for up to 3 days, or freeze it for up to 2 months. This dessert is perfect for a quick breakfast or snack, and it’s also a great option for meal prep, as you can make a batch on the weekend and enjoy it throughout the week.
- This recipe is foolproof, even for the most tired and sleep-deprived mamas, as it requires only two ingredients and is incredibly easy to make. The best part is that you can’t go wrong, even if you’re not the most experienced baker, as the ingredients are so simple and the instructions are easy to follow. This dessert is also a great way to get your toddlers involved in the kitchen, as they can help you mix the ingredients and put the cups in the oven.
- This recipe is perfect for any occasion, whether you’re looking for a quick breakfast or snack, or a special treat for the family. It’s also a great option for breastfeeding mamas, as it provides a much-needed energy boost and is easy to eat on the go. This dessert is also a great way to meal prep, as you can make a batch on the weekend and enjoy it throughout the week, and it’s also a great option for toddlers, as it’s easy to eat and fun to make.
Ingredients You’ll Need
The star ingredients in this recipe are cream cheese and eggs, which provide a rich source of protein and calcium. These ingredients are essential for mamas, especially those who are breastfeeding, as they help to support the growth and development of the baby. The best part is that these ingredients are so simple, and you probably already have them in your fridge, which makes this recipe a great option for busy mamas who don’t have a lot of time to spare.You can customize this recipe to suit your dietary needs, by using a dairy-free cream cheese or egg substitute. This is a great option for mamas who are lactose intolerant or have other dietary restrictions, as it allows you to still enjoy this delicious dessert without compromising your health. The best part is that there are so many dairy-free and egg-free options available, which makes it easy to find a substitute that works for you.
- 1 can of condensed milk
- 1 package of cream cheese

How to Make It Step by Step
Step 1: Preheat the oven
To start, preheat your oven to 375°F, which is the perfect temperature for baking these cheesecake cups. Make sure to adjust the temperature according to your oven’s specifications, as this will ensure that your cheesecakes turn out perfectly.
Step 2: Mix the ingredients
In a large bowl, mix together the cream cheese and eggs until smooth and creamy, making sure to scrape down the sides of the bowl to get everything well incorporated. This is the most important step, as it ensures that your cheesecakes are light and fluffy, rather than dense and heavy.
Step 3: Pour into cups
Pour the mixture into small cups or ramekins, filling them about 3/4 of the way full, which is the perfect amount for a single serving. Make sure to leave a little room at the top, as this will allow the cheesecakes to expand during baking.
Step 4: Bake until set
Bake the cheesecakes for 10-12 minutes, or until they’re set and the edges are lightly golden brown, which is the perfect indication that they’re done. Keep an eye on them, as the baking time may vary depending on your oven and the size of your cups.
Step 5: Cool and serve
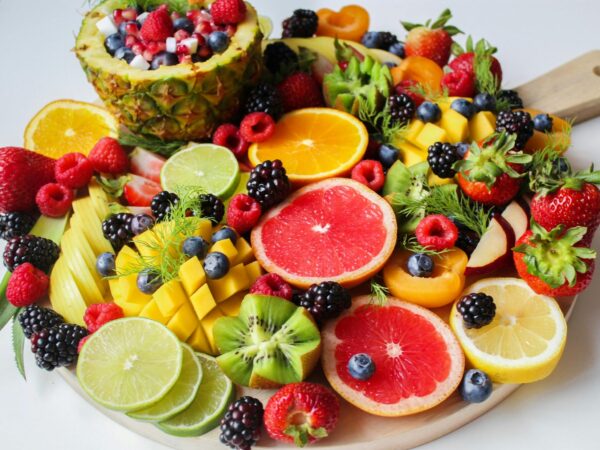
Allow the cheesecakes to cool completely in the cups, which will help them to set and make them easier to remove. Once they’re cool, you can serve them as is, or top them with your favorite fruit or sauce for added flavor and nutrition.
Step 6: Store in the fridge
Store the cheesecakes in the fridge for up to 3 days, or freeze them for up to 2 months, which is perfect for meal prep or making ahead for a special occasion. This will help to keep them fresh and delicious, and ensure that you always have a sweet treat on hand.
Emma’s Tips for the Best Results
- The most critical technique in this recipe is to make sure the cream cheese is at room temperature, as this will ensure that it mixes smoothly and evenly with the eggs. This is essential, as it will help to create a light and fluffy texture that’s just perfect for a cheesecake. If the cream cheese is too cold, it won’t mix properly, and you’ll end up with a dense and heavy cheesecake.
- A common mistake that mamas make when making this recipe is to overmix the ingredients, which can result in a dense and tough cheesecake. To avoid this, mix the ingredients just until they’re combined, and then stop mixing, as this will help to preserve the delicate texture of the cheesecake. Overmixing can also cause the cheesecake to crack, which can be frustrating and disappointing.
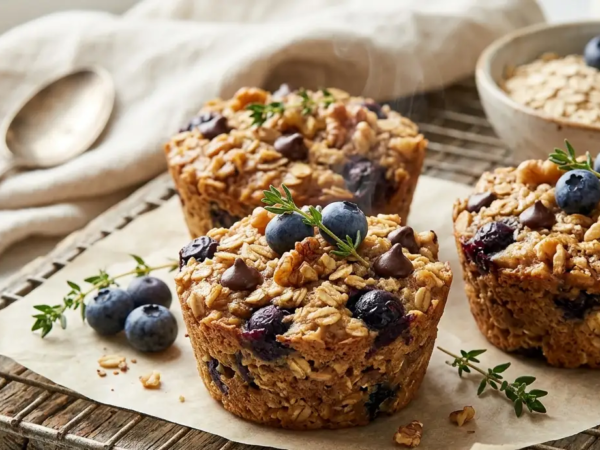
- A pro nutrition upgrade for this recipe is to add some fresh fruit or nuts to the mixture, which will provide a boost of fiber and antioxidants. This is a great option for mamas who are looking for a healthier dessert option, as it will help to increase the nutritional value of the cheesecake. Some great options include blueberries, raspberries, or chopped walnuts, which are all delicious and nutritious.
- A doneness cue for this recipe is to check the edges of the cheesecakes, which should be lightly golden brown and set. This is the perfect indication that the cheesecakes are done, and it’s time to remove them from the oven. If the edges are still pale or jiggly, bake for a few more minutes and check again, as this will ensure that the cheesecakes are cooked to perfection.
- A make-ahead tip for this recipe is to bake the cheesecakes ahead of time and store them in the fridge or freezer, which is perfect for meal prep or making ahead for a special occasion. This will help to save you time and stress, and ensure that you always have a delicious dessert on hand. Simply thaw the cheesecakes overnight in the fridge, or reheat them in the microwave or oven, and serve.
Variations & Swaps 🌿
A dairy-free swap for this recipe is to use a dairy-free cream cheese, which is a great option for mamas who are lactose intolerant or have other dietary restrictions. This will help to ensure that the cheesecake is still delicious and creamy, without compromising your health. Some great options include vegan cream cheese or coconut cream cheese, which are both delicious and nutritious.
A gluten-free or protein boost for this recipe is to add some gluten-free flours or protein powder to the mixture, which will provide a boost of nutrition and help to support the growth and development of the baby. This is a great option for mamas who are looking for a healthier dessert option, as it will help to increase the nutritional value of the cheesecake. Some great options include almond flour or coconut flour, which are both delicious and nutritious.
A flavor twist or seasonal variation for this recipe is to add some fresh fruit or spices to the mixture, which will provide a boost of flavor and help to make the cheesecake more interesting and delicious. This is a great option for mamas who are looking for a unique and creative dessert option, as it will help to add some variety and excitement to your diet. Some great options include cinnamon, nutmeg, or ginger, which are all delicious and nutritious.
How to Store
To store the cheesecakes in the fridge, simply place them in an airtight container and refrigerate for up to 3 days, which is perfect for meal prep or making ahead for a special occasion. This will help to keep the cheesecakes fresh and delicious, and ensure that you always have a sweet treat on hand. Make sure to label the container with the date and contents, so you can easily keep track of how long they’ve been stored.
To store the cheesecakes in the freezer, simply place them in an airtight container or freezer bag and freeze for up to 2 months, which is perfect for making ahead for a special occasion or meal prep. This will help to preserve the cheesecakes and keep them fresh, and ensure that you always have a delicious dessert on hand. To reheat, simply thaw overnight in the fridge or reheat in the microwave or oven, and serve.
Mama FAQs 🌸
Can I make this recipe ahead of time?
Yes, you can make this recipe ahead of time and store it in the fridge or freezer, which is perfect for meal prep or making ahead for a special occasion. Simply bake the cheesecakes, allow them to cool, and then store them in an airtight container in the fridge for up to 3 days or freeze for up to 2 months. To reheat, simply thaw overnight in the fridge or reheat in the microwave or oven, and serve. This is a great option for busy mamas who want to save time and stress, and ensure that they always have a delicious dessert on hand.
Is this recipe safe for breastfeeding mamas?
Yes, this recipe is safe for breastfeeding mamas, as it doesn’t contain any ingredients that are known to affect milk supply or baby’s health. However, as with any new food, it’s always a good idea to monitor your baby’s reaction and adjust your diet accordingly. If you have any concerns, be sure to consult with your healthcare provider or a lactation consultant for personalized advice. This recipe is also a great option for breastfeeding mamas, as it provides a much-needed energy boost and is easy to eat on the go.
Can I substitute the cream cheese with something else?
Yes, you can substitute the cream cheese with a dairy-free alternative, such as vegan cream cheese or coconut cream cheese, which is a great option for mamas who are lactose intolerant or have other dietary restrictions. However, keep in mind that the flavor and texture may be slightly different, so you may need to adjust the recipe accordingly. Some great options include almond cream cheese or cashew cream cheese, which are both delicious and nutritious.
Can I make this recipe for my toddler?
Yes, you can make this recipe for your toddler, as it’s a great option for a healthy and delicious dessert or snack. Simply cut the cheesecakes into bite-sized pieces and serve, or use a cookie cutter to create fun shapes. This recipe is also a great way to get your toddlers involved in the kitchen, as they can help you mix the ingredients and put the cups in the oven. Just be sure to supervise them closely and teach them about kitchen safety and hygiene.
Japanese Cheesecake Cups
🧂 Ingredients
👩🍳 Instructions
-
1Preheat oven to 425°F (220°C).
-
2Mix cream cheese and condensed milk in a bowl until smooth.
-
3Pour mixture into a lined cupcake tin.
-
4Bake for 10-12 minutes or until the edges are set and the centers are slightly jiggly.
-
5Let cool completely before serving.
So, mama, I hope you’ve enjoyed this recipe for Japanese cheesecake cups, and that you’ll give it a try soon. Remember to take care of yourself and prioritize your own needs, especially during those chaotic mama days. And don’t forget to share your creations with me on social media, as I love seeing what you’re making and hearing about your favorite recipes. Happy baking, and don’t forget to take a moment for yourself to enjoy a delicious cheesecake cup (or two, or three…). You deserve it, mama!


Share your thoughts 💬